


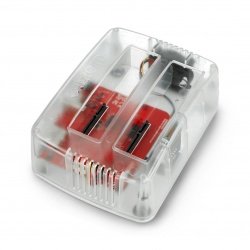


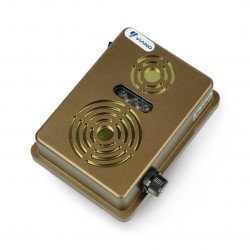
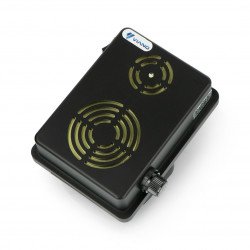


Coins Acceptor
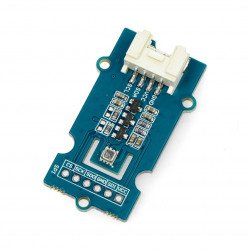
the user manual
Specification
- Supply voltage: 12 V (+/- 10 %)
- Diameter of coins: 16 - 31 mm
- The thickness of the coins is 1,8 - 3,0 mm
- Atmospheric pressure: 86 kPa - 106 kPa
- Identification accuracy: 99.5% of
- Maximum relative humidity: 95 %
- Output: digital voltage pulses
- Speed: ≤ 0.6 sec
- Current consumption: 65 mA (+/- 5 %)
- Programming without a computer, using the display and buttons
- In accordance with the international standard of coins and chips
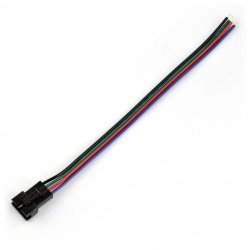
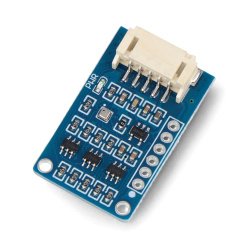
Connection
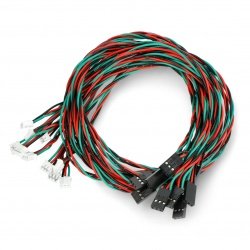
Included are wire together with the plug of the four-pin plug that should plug into the back of the device. Description of the findings on the main body. When properly connected wire will have the following functions:
| Cable | Function |
| RED | Power supply 12 V DC |
| WHITE | The detection signal of the coin |
| BLACK | Weight |
| GREEN | The output of the counter |
Settings
- Hold down the button and simultaneously ADD and MINUS for a few seconds and release, the display will show the letter A.
- Hold the SET button for a few seconds, the screen will display the letter E. Then use the buttons ADD and MINUS to select the number of supported coins. Press and hold the SET button to confirm.
- The screen will display the symbol H1. Using the buttons ADD and MINUS to select the number of attempts and put the first coins. On the basis of these tests, the device will recognize the type of coin. Press and hold the SET button to confirm. Maximum quantity is 30 pulses. The manufacturer recommends a minimum of 15 attempts.
- The screen will display the symbol P1. Using the buttons ADD and MINUS to select the number of output pulses which the device will send after the first coin. Press and hold the SET button to confirm. The maximum number is 50 pulses.
- The screen will display the symbol F1. Using the buttons ADD and MINUS to select the precision of the measurement. Press and hold the SET button to confirm. The maximum value is 50. In normal conditions, the accuracy at 5 - 10 will be enough. If the coins are very similar to each other, should be set to a higher value.
- The parameters for the first coins were introduced. To configure settings for other coins, repeat steps 3 - 6. After entering the parameters for all the coins will appear on the display the letter A.
- Press and hold the SET button. The screen will display the letter E. Then you need to disable and enable power to the device.
| After completion of the setup process, you can proceed to the discretization of the coins. The manufacturer recommends a minimum of 15 attempts for each coin to get the highest accuracy. |
Sample
- Hold the SET button for a few seconds, the screen will display the letter A1.
- Start to throw the first coins. Letter A1 will appear again after the process is complete.
- Hold the SET button for a few seconds, the screen will display the letter A2. Start the download the next coin. Letter A2 will appear again after the process is complete.
- Repeat step 3 for all coins. You can suspend the sampling process any coin, hold down the SET button, in case if you have selected too many coins in the settings.
- After the process is complete the system will restart automatically.
- After these steps, the device is ready for use.
AP mode
The device also has a mode that allows control of the output pulses. This mode, no additional configuration is required for proper operation. Details instructions English.
Restore factory settings
- Turn off the power.
- Hold both the SET button and ADD.
- Turn on the power.
- Release the buttons and press SET. the display will show A1.
- Turn off and turn on the power. Since the coin does not recognize the previously programmed coin.