


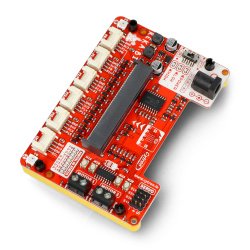


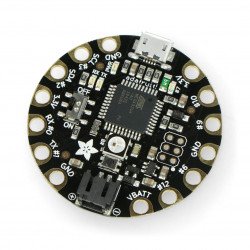


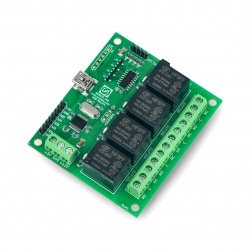


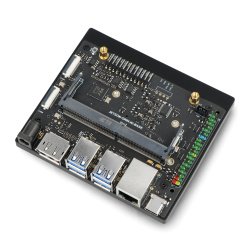


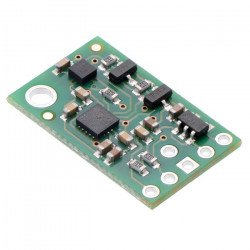


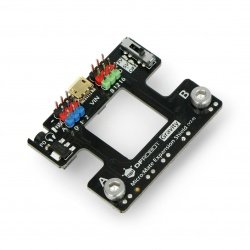


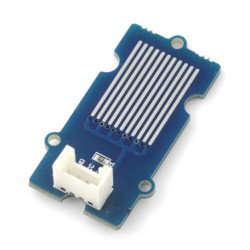

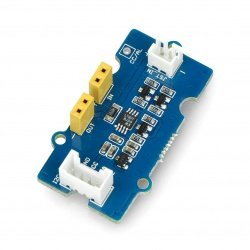


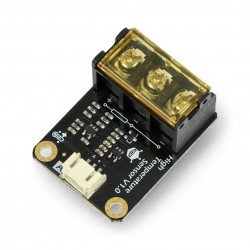


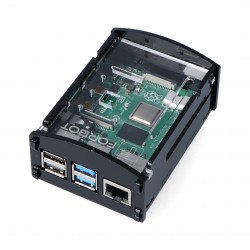


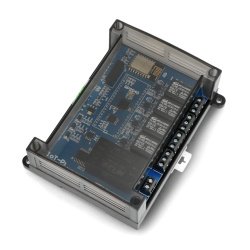


Grove Base HAT is an overlay that allows Grove sensors to be connectedto Raspberry Pi. It is compatible with Raspberry Pi 2 Model B, Raspberry Pi 3 Model B and Raspberry Pi B+. It has 4 mounting holes matching the size of the Raspberry Pi. The cap also has a special place for connecting camera cables.
Versions
| Version | Amendments | Date of premiere |
|---|---|---|
| Grove Base HAT | basic | 15 December 2017 |
Features
- 2 digital ports
- 2 analogue ports
- 3 I2C ports
- 1 UART port
- 1 power button
Equipment overview
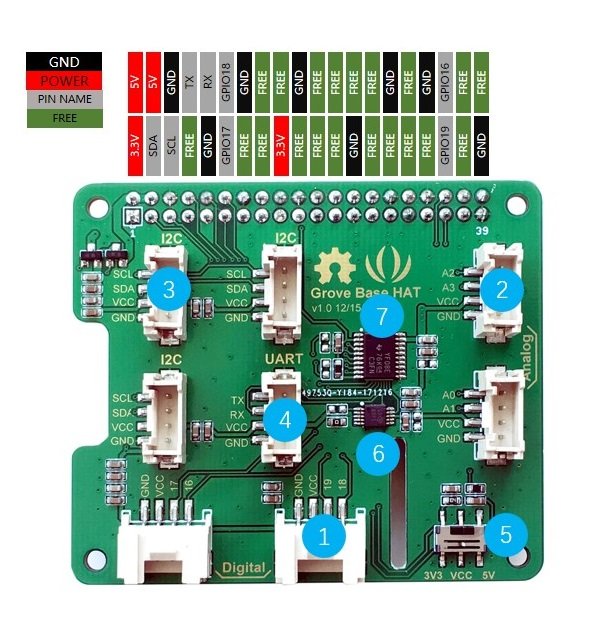
The drawing below shows the characteristics of the Grove Base HAT equipment. The layout of the outputs and variable functions of the Grove Base HAT pins can be found in the detailed diagram. The drawing below is for general recognition only.
-
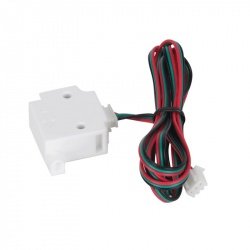
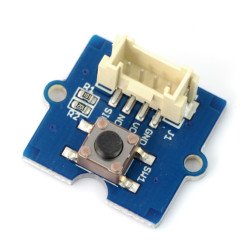
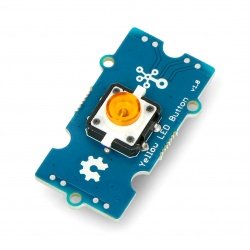
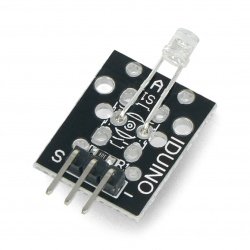
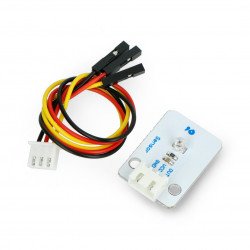
❶ Digital port: 2 Grove digital ports are used to connect Grove digital sensors.
-
❷ Analogue port: 2 Grove analogue ports are used to connect Grove analogue sensors. Raspberry Pi does not support analog signal. We therefore use the ADS1015 chip to transmit ADC signal to I2C signal.
-
❸I2C port: 3 GroveI2C ports are used to connect Grove I2C sensors.
-
❹ UART:1 Grove UART port is used to connect the Grove UART sensors. The Raspberry Pi 3 UART is used by bluetooth. Please follow the RASPBERRY PI UARTS manual toenable the UART.
-
❺Power Switch: Slider switch is used to change the logic level and board voltage to 5V or 3.3V.
-
❻ ADS1015: ADS1015 is a precision analog-to-digital converter (ADC) with 12-bit resolution. Data is transmitted through an I2C compatible serial interface.
-
❼ TXS0108: This 8-bit non-reversible translator uses two separate configurable power buses. Port A monitors the power supply voltage of the VCCA pin. The VCCA pin operates with 1.2V and 3.6V.Ports A are connected to the Raspberry. Port B port monitors the power supply voltage of the VCCB pin. The VCCB pin operates between 1.65 V and 5.5 V. Ports B are connected to the Grove sensors.
-
❽FREE:The FREEpins remain free and are not used by the Grove Base HAT.
Start working
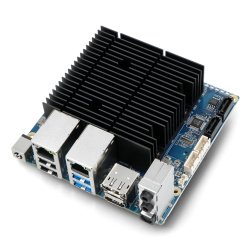
Equipment
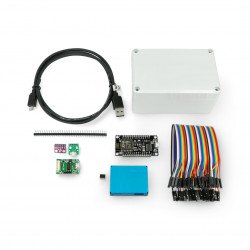
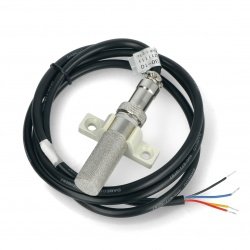
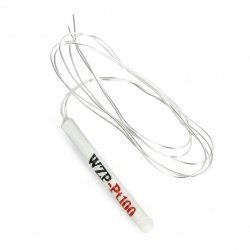
- Step 1: Prepare the following devices:
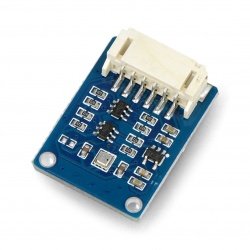
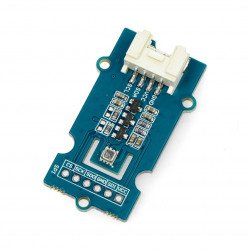
| Raspberry Pi | Grove Base HAT |
|---|---|
 |
|
| Buy NOW | Buy NOW |
- Step 2: Connect Grove Base HAT to Raspberry.
- Step 3. Connect the Raspberry to your computer with a USB cable.
Software
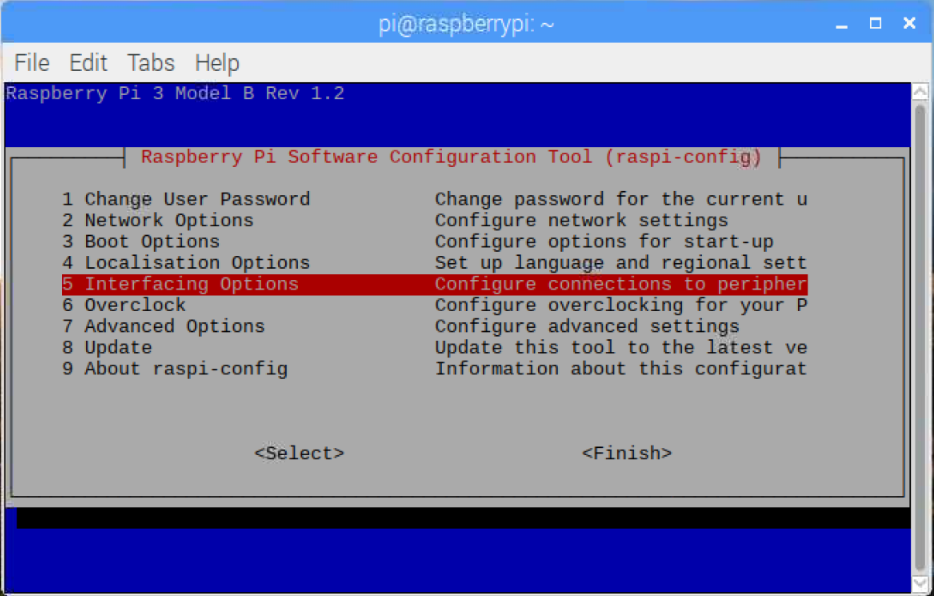
- Step 1: Configure I2C, I2C is disabled by default. You can use raspi-config to enable it. Enable "sudo raspi-config".
-
Step 2. use the down arrow to go down to "5 interfacing options" and press "enter" to select.
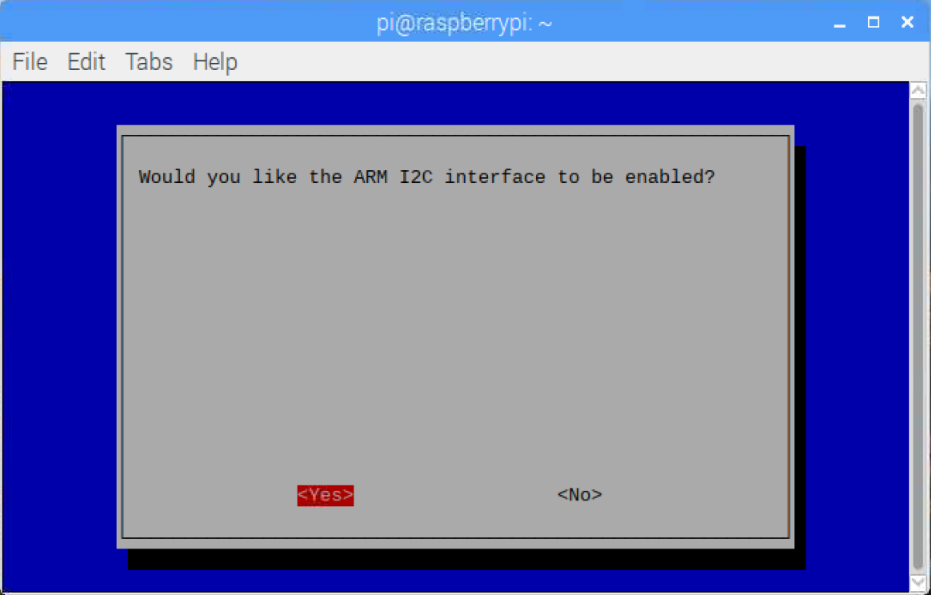
- Step 3. use the down arrow to go down to "P5 I2C" and press "enter" to select.

- Step 4. select "Yes" to turn on.
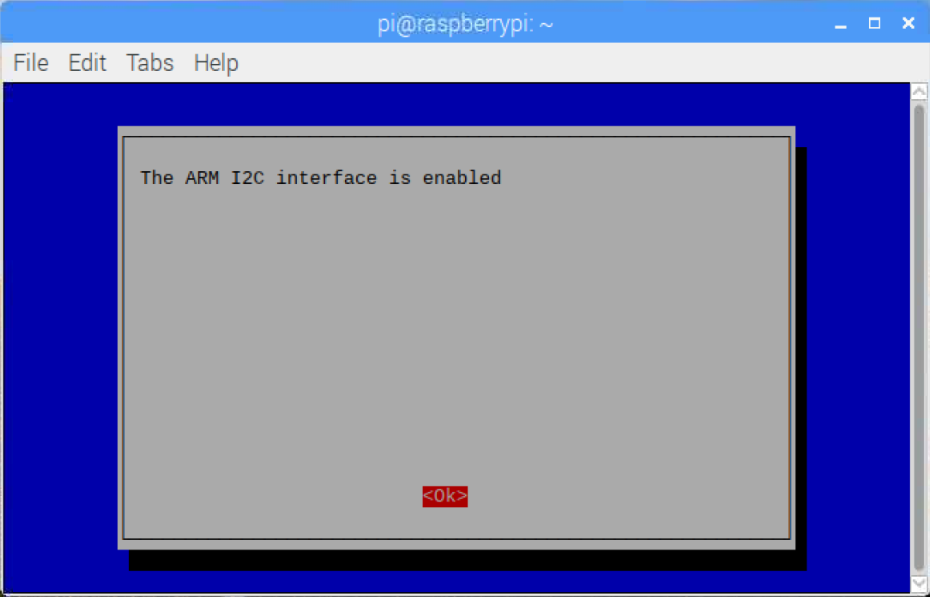
- Step 5. select "Ok".
- Step 6. select "Finish" to save your changes.
- Step 7. DownloadADS1X15_Driverinto the Raspberry /home/pi folder and unpack.
wget https://github.com/SeeedDocument/Grove_Base_HAT/raw/master/res/ADS1X15_Driver.zip
unzip ADS1X15_Driver.zip
- Step 8: Go to the Singleended folder and you will see that the Singleended file is marked green.
pi@raspberrypi:~ $ cd ~/Adafruit_ADS1X15_Linux/examples/singleended
pi@raspberrypi:~/Adafruit_ADS1X15_Linux/examples/singleended $ make
g++ -o singleended.o -c singleended.cpp -I../.../ -W -Wall
g++ -o Singleended singleended.o -lads1015 -L../.../
pi@raspberrypi:~/Adafruit_ADS1X15_Linux/examples/singleended $ ls
Makefile Singleended singleended.cpp singleended.o
- Krako 9. enable singleended to read data.
pi@raspberrypi:~/Adafruit_ADS1X15_Linux/examples/singleended $ ./Singleended
Hello!
Getting single-ended readings from AIN0..3
ADC Range: +/- 6.144V (1 bit = 3mV/ADS1015, 0.1875mV/ADS1115)
AIN0: 4095
AIN1: 4095
AIN2: 4095
AIN3: 4095
FAQ
Clickhere,to review the most frequently asked questions about Grove_Base_HAT.
Useful links
|