


E-mail Notifier on Raspberry Pi - with LEDs
The popularity of Raspberry Pi has made it much easier to do many things. As an example, we will present a simple starter project from Raspberry Pi, which is to announce a new Gmail message. After a short search, a large number of people who know how to do it were found and some great examples of it. Michael from mitchtech.net had the most developed code that was borrowed for this project.
The project uses two LEDs - green and red. The green LED will light up when a new message arrives. However, when all messages are read, the red LED will turn on.
To complete this tutorial, you will need it:
- Pi T-Cobbler Plus, Cobbler Plus for model B+/Pi 2 or the original Pi Cobbler
- Contact plate 830 holes
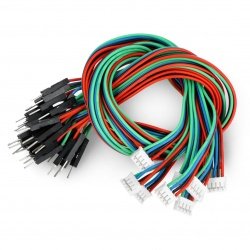
- Connecting cables
- LEDs
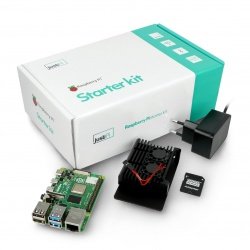
- Raspberry Pi(compatible with all Pi 26-and 40-pin issued so far)
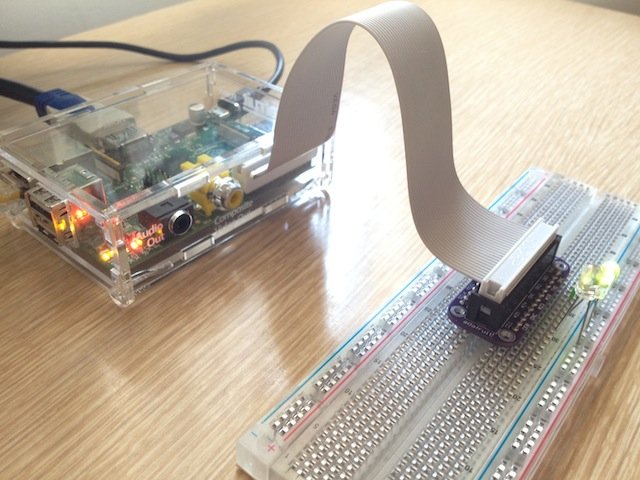
Connecting Cobbler to LEDs
The new Raspberry Pi uses a 40-pin connector. The first generation Pi uses a 26-pin connector. This tutorial can use all these versions using the same GPIO code and pins. There are examples of both types using the same GPIO pins (#18 and #23).
When connecting a GPIO cable, make sure you notice a red or white cable on the tape, this is the #1 pin of the cable.This end is connected closest to the SD card and is marked as P1on Pi.The other side is connected to the cobbler and can only be inserted in one way because of the special tip.
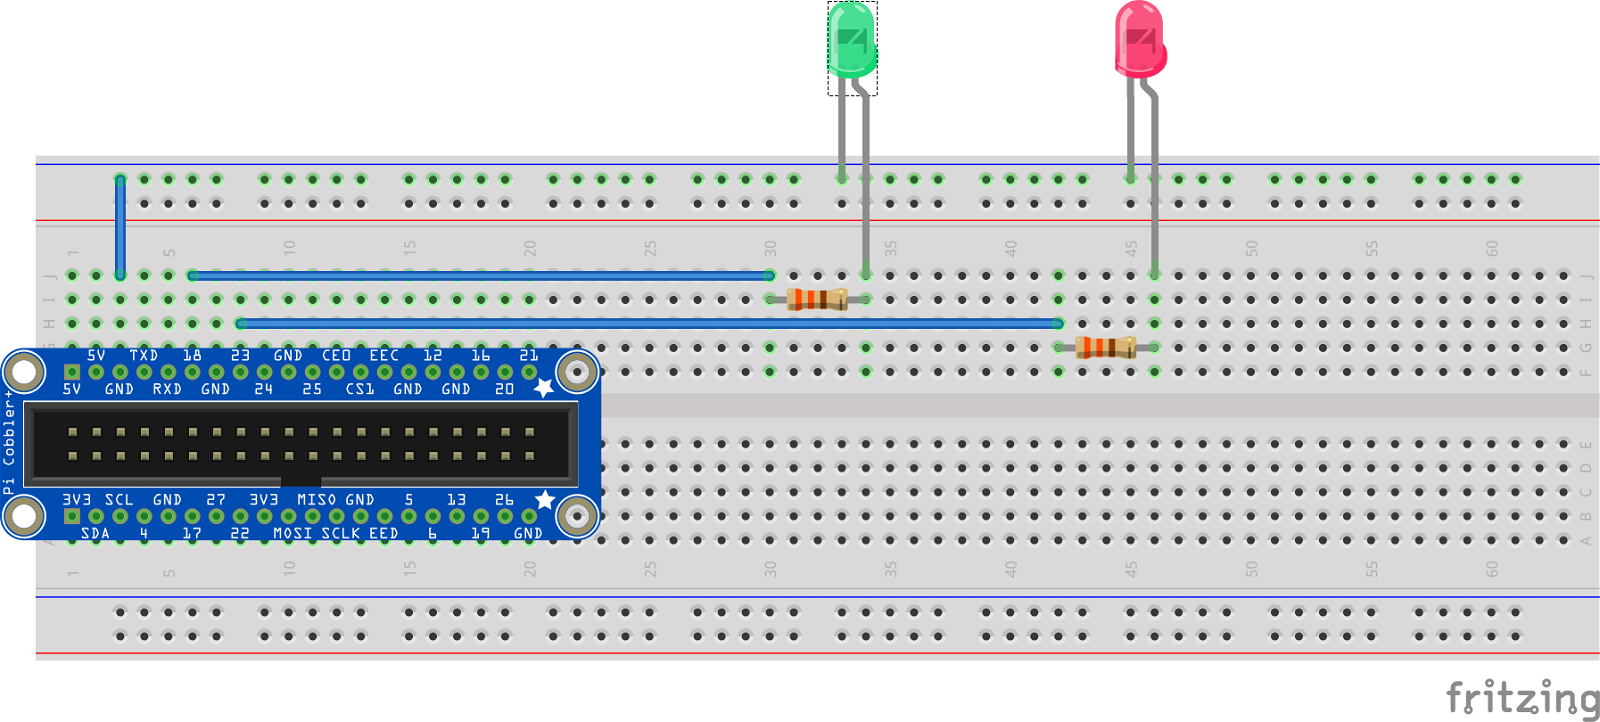
Place the cobbler on the contact plate so that it is on both sides of the centre line. Connect the GND pin (GND) to the blue power bus on the contact board. You will need two resistors (any value from 330 ohms to 1000 ohms will be correct).
Connect the first resistor to the cobbler pin marked #18 and its other end to a pin that is not used by it.
Connect the second resistor to the cobbler pin marked #23 and the other end to another unused pin.
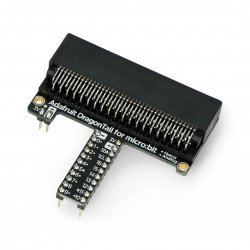
Raspberry Pi Cobbler Plus - 40-pin for Raspberry Pi 3B+ / 3B / 2B / Zero
Raspberry Pi Cobbler - 26-pin - only for Raspberry Pi A / B

Step-by-step connection on a 26-pin Cobbler Pi
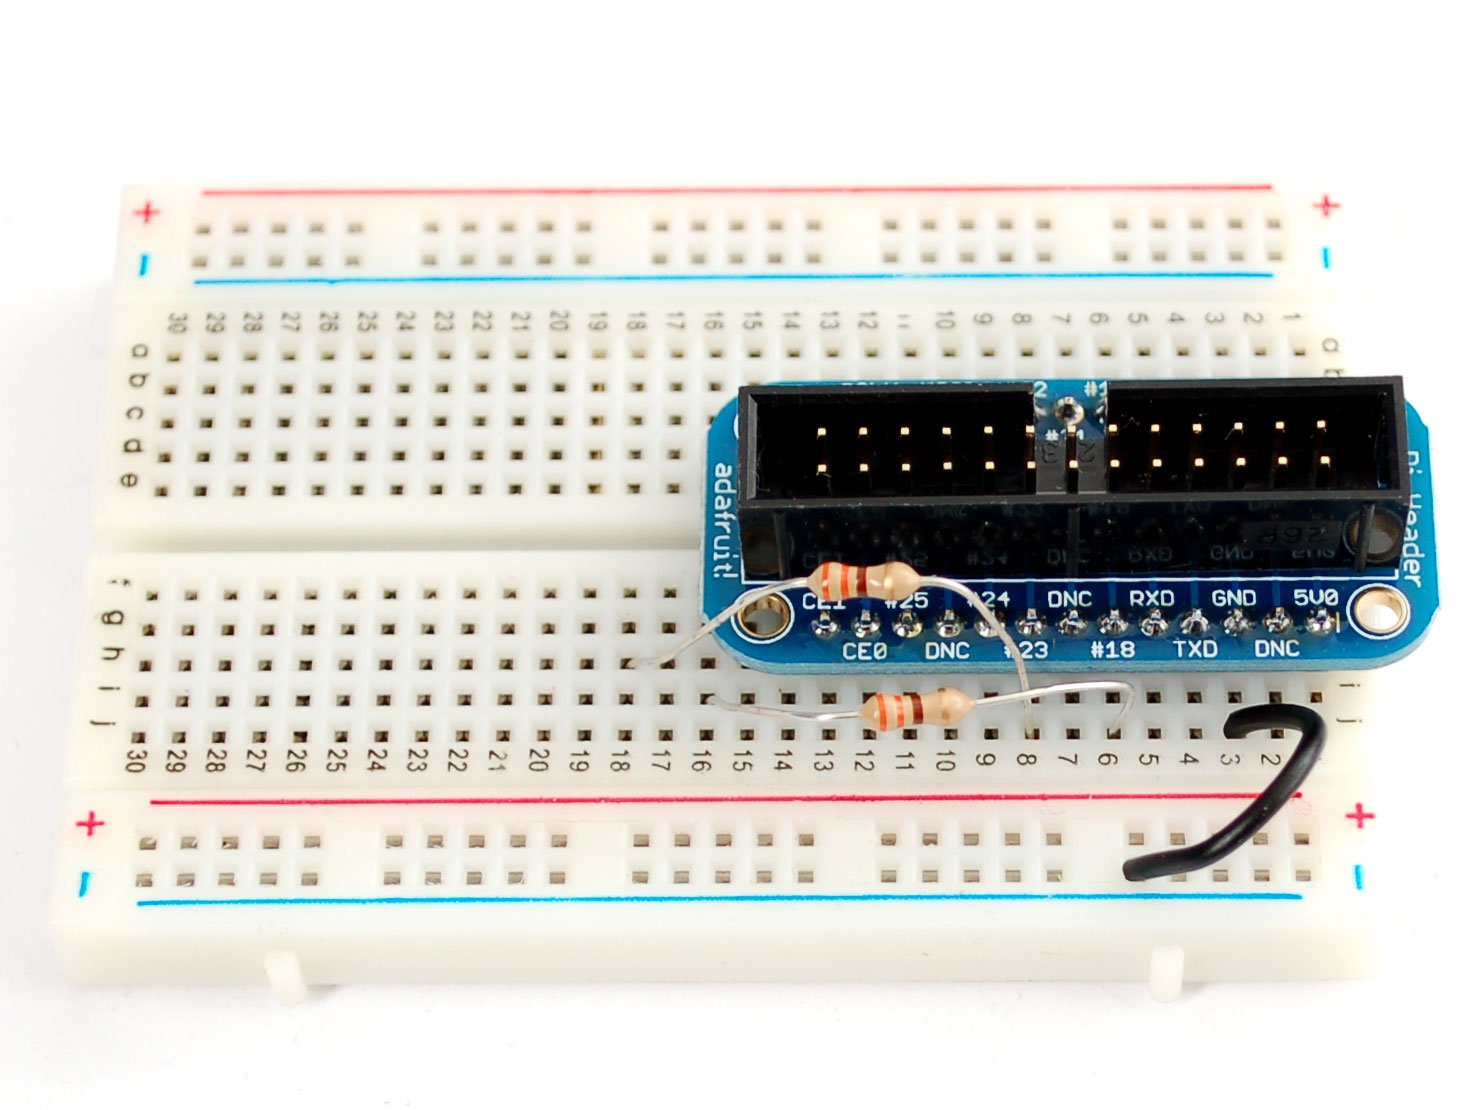
Now take the red and green LEDs. Their longer legs are anodes (+).
Connect the red LED anode to a resistor connected to pin #23 (GPIO #23) and the green LED anode to a resistor connected to pin #18.
Connect the shorter feet (cathodes) to the soldering points with the blue strip on the contact board.
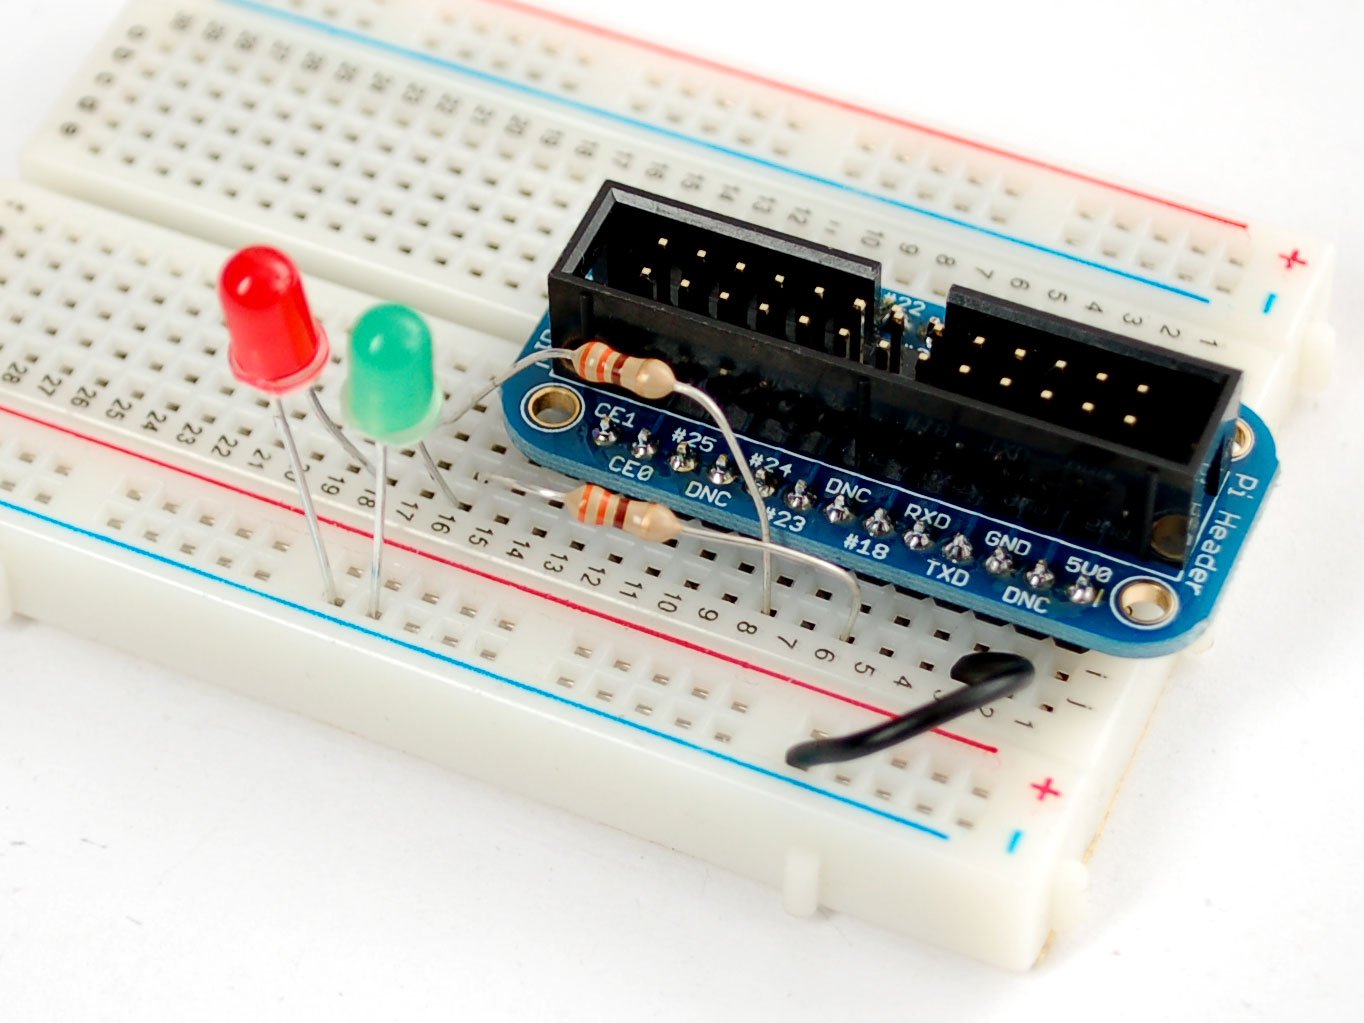
The above pictures show the original Cobblers Pi. For newer, 40-pin models like A+/B+/Pi 2, you will probably do something similar using wires to connect resistors to LEDs (click on the picture to enlarge it):
We did it! You've just connected two LEDs with current limiting resistors to GPIO pins on Pi.
Necessary packages
Update your Pi to the latest version of Raspbian
Your Pi will have to work on the latest version of Raspbian. This tutorial was written with Raspbian Stretch (November 2018). Check ourInstallation Guide forRaspberry Pi if you haven't already done so. Once the installation is complete, enter the following commands to make sure your packages are up-to-date.
$ sudo apt-get install update -y
$ sudo apt-get install upgrade -y
Installation of pip3
pip3 is already installed in the full version of Raspbian, but Raspbian Lite does not contain pip3, so it must be installed as follows
$ sudo apt-get install python3-pip
Installation of adafruit-blinka
$ sudo pip3 install adafruit-blinka
Impaclient installation
sudo pip3 install imapclient
Python script

Now you can download any Python code and check your Gmail account. You can download the following script directly to your Raspberry Pi, modify it and run it so that the LEDs are on.
import time
import board
from imapclient import IMAPClient
from digitalio import DigitalInOut, Direction

HOSTNAME = 'imap.gmail.com'
MAILBOX = 'Inbox'
MAIL_CHECK_FREQ = 60 # check mail every 60 seconds

# The following three variables must be customized for this
# script to work
USERNAME = 'your username here'
PASSWORD = 'your password here'
NEWMAIL_OFFSET = 1 # my unread messages never goes to zero, use this to override

# setup Pi pins as output for LEDs
green_led = DigitalInOut(board.D18)
red_led = DigitalInOut(board.D23)
green_led.direction = Direction.OUTPUT
red_led.direction = Direction.OUTPUT

def mail_check():
    # login to mailserver
    server = IMAPClient(HOSTNAME, use_uid=True, ssl=True)
    server.login(USERNAME, PASSWORD)

    # select our MAILBOX and looked for unread messages
    unseen = server.folder_status(MAILBOX, ['UNSEEN'])

    # number of unread messages
    # print to console to determine NEWMAIL_OFFSET
    newmail_count = (unseen[b'UNSEEN'])
    print('%d unseen messages' % newmail_count)

    if newmail_count > NEWMAIL_OFFSET:
        green_led.value = True
        red_led.value = False
    Another:
        green_led.value = False
        red_led.value = True

    time.sleep(MAIL_CHECK_FREQ)

while True:
    mail_check()
Downloading the code
For simplicity, place this file in your home directory. This is facilitated by the wget command.
$ cd
$ wget https://raw.githubusercontent.com/adafruit/Adafruit_Learning_System_Guides/master/Raspberry_Pi_E-mail_Notifier_Using_LEDs/Raspberry_Pi_E-mail_Notifier_Using_LEDs.py
Modification of e-mail variables.
Don't forget to set yourUSERNAMEandPASSWORD to match your GMail account. (Remember, if you are using binary GMail authentication, you will then have to create a specific username and password.If you're using email in another domain, you'll probably need to check their documentation to know whatHOST NAME to use.It usually sounds so imap.youremailproviderhere.com).
NEWMAIL_OFFSET isa variable that allows you to set the current number of unread messages. When you run the python script, there will be a number output to the console, showing the current number of unread messages.
Running the code
$ python3 ./Raspberry_Pi_E-mail_Notifier_Using_LEDs.py
Send yourself some emails to see how the green LED turns on!
You can stop the script at any time by pressing Ctrl-C.
Remote control by SSH
As a first step, you must have a terminal on your Pi. There are different options, in ourcase it is to enter several command lines:
- Connect an HDMI monitor and a keyboard
- Usea USB-UART converter
- Log in via Secure SHell(SSH)
Since this project uses GPIO Pins for its own purposes, you will choose between working directly on Pi (this is an excellent option if you have everything set up!) or connecting via SSH (a good idea if you don't have an additional monitor/entry device nearby and want to work at your own desk or laptop).
The following examples will suggest a smooth Raspbian installation with an SSH connection.
Preparing Python
For the python code to work, you will need to make sure that a pair of libraries are installed.
First, either from the keyboard/monitor or SSH console, type:
sudo apt-get install python-pip
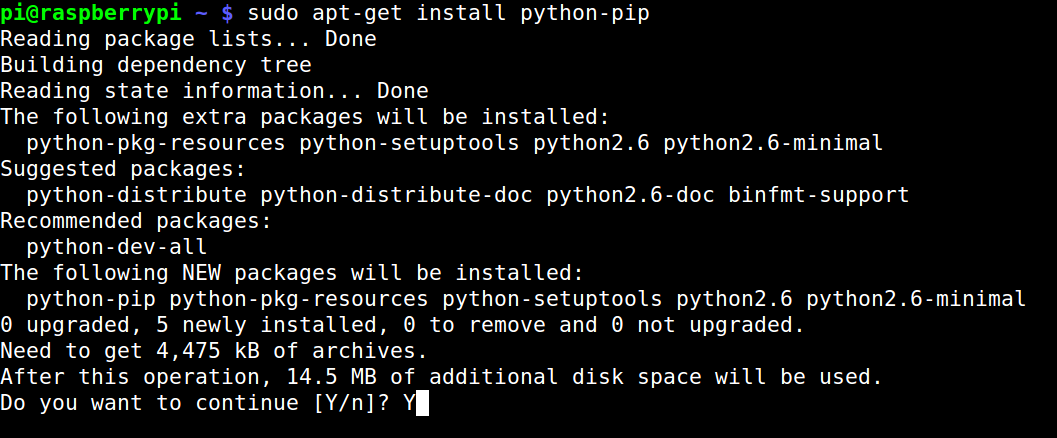
... you will be asked if you want to continue. Press the "Y" key meaning "yes" and press enter.
This part, probably, will take some time.
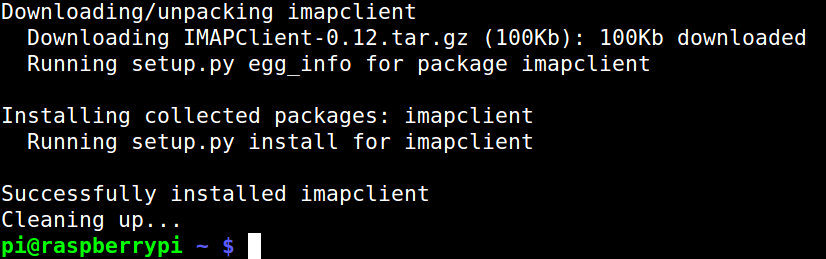
Then, you can install the IMAPClient Python library, which allows Python to communicate with e-mail services.
sudo pip install imapclient
Older versions of this guide used the Python module called "feedparmer" to read the Atom channel from GMail
The current version of the script should work with emails in each domain that provides access to IMAP. Some helpful links:
- Yahoo! IMAP email settings
- Hotmail/Outlook.com IMAP settings
- iCloud: email server settings for email clients
If you have a two-step authorization activated in your GMail account,you will need to create a specific password to use IMAP. Detailed instructionsfrom Google are very helpful in this case.
Not sure if you have a two-step authorization enabled? That probably means you don't have one, so for now you don't have to worry about it.
Source: https://learn.adafruit.com/raspberry-pi-e-mail-notifier-using-leds