


Using a strain gauge beam with Arduino
The strain gauge beam allows you to weigh the object. This short guide shows you how to handle it using the Arduino Uno plate.
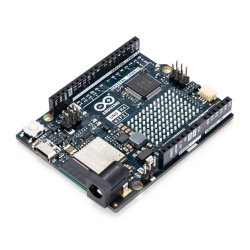
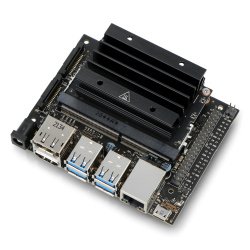
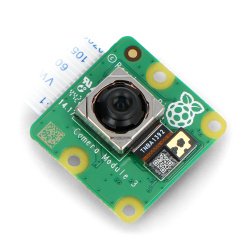
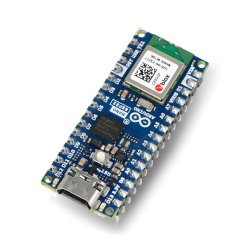
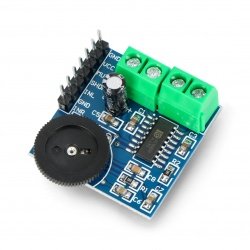
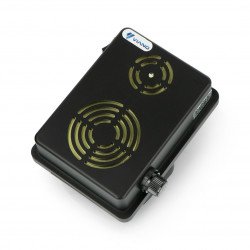
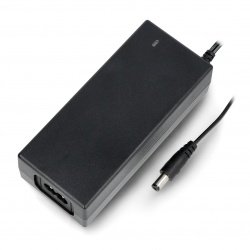
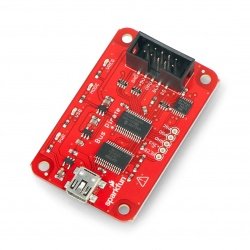
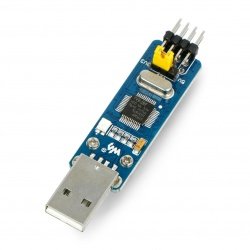
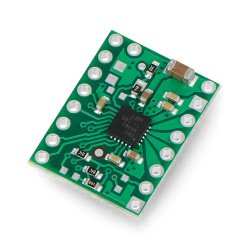
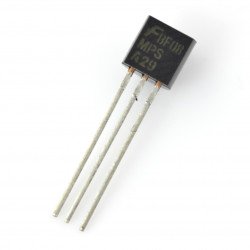
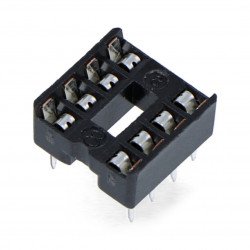
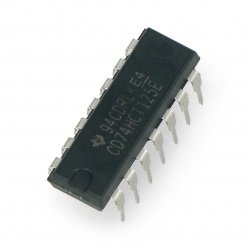
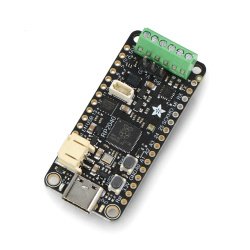
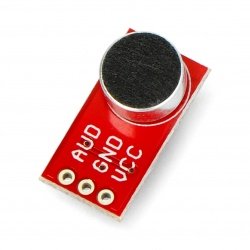
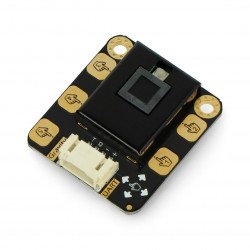
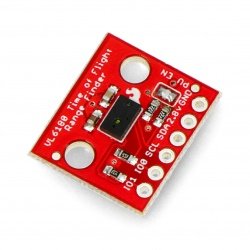
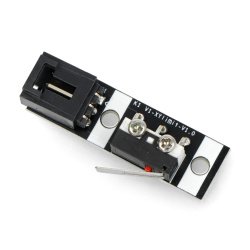
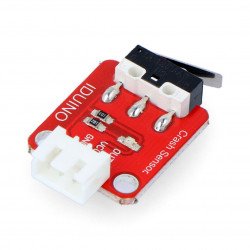
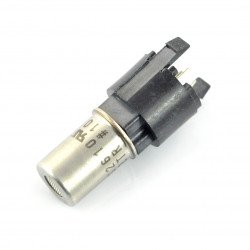
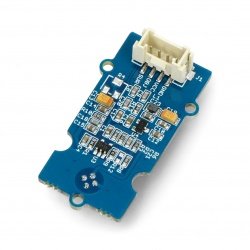
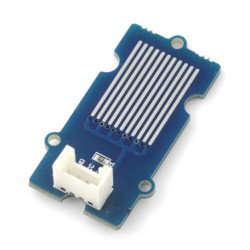
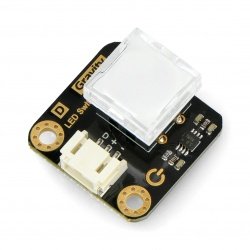
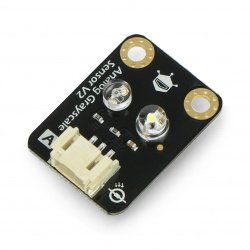
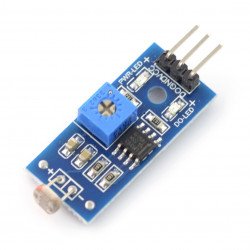
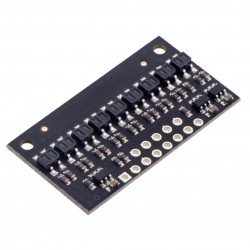
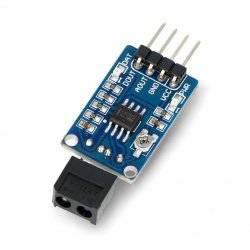
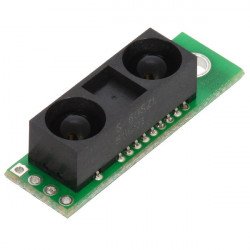
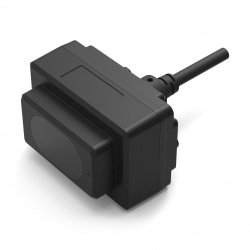
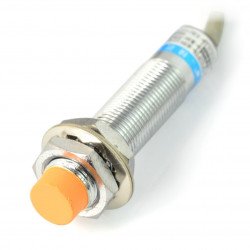
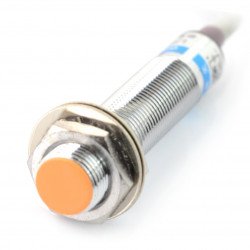
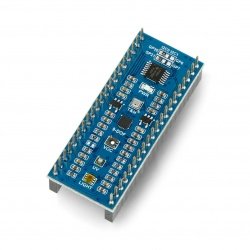
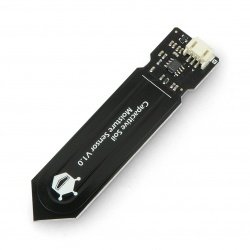
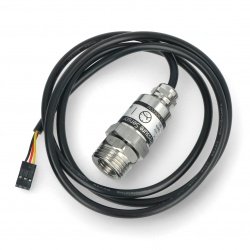
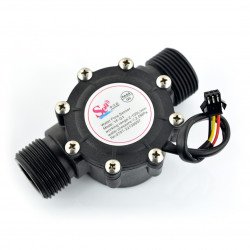
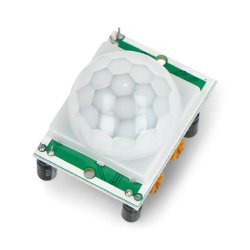
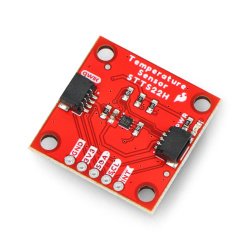
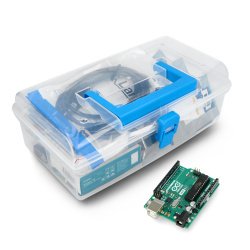
The following elements are used in the example:
Connection
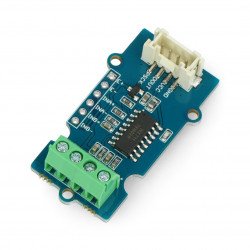
The module is powered directly from Arduino, so we don't need an external power source. Pins are connected according to the table below:
| Amplifier pin | Pin Arduino |
|---|---|
| VCC | 5 V |
| DAT | 3 |
| CLK | 2 |
| GND | GND |
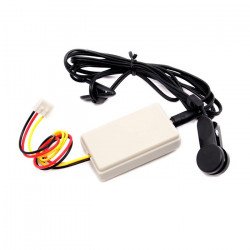
On the other side of the amplifier module we connect the strain gauge bar according to the color of the wires.
- RED - red
- BLK - black
- WHT - white
- GRN - green
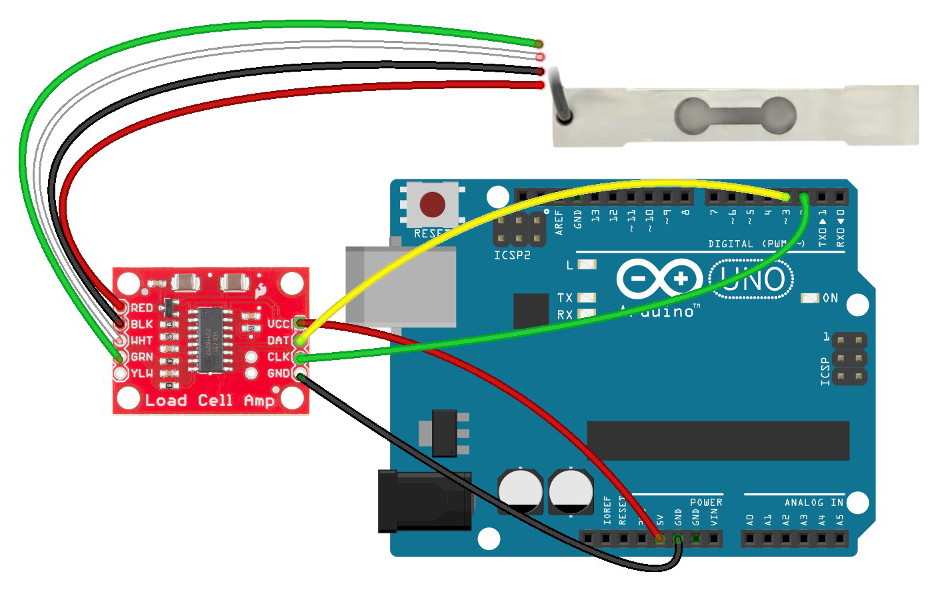
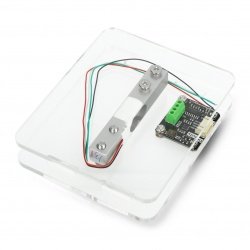
Connection diagram for beam, amplifier and Arduino Uno.
Operation
At the beginning the library should be added to Arduino environment (Sketch -> Include Library -> Add .ZIP Library...).
In the example, programs from the included library are used. At the beginning you should run SparkFun_HX711_Calibration program (File -> Examples -> HX711 -> SparkFun_HX711_Calibration). It allows us to determine the coefficient for the strain gauge beam used.
We start the system without load on the beam. Then we insert an object of known weight. Now with the "+" and "-" buttons (or "a" and "z") we set the reading so that it matches our known weight, e.g. "a" and "z".
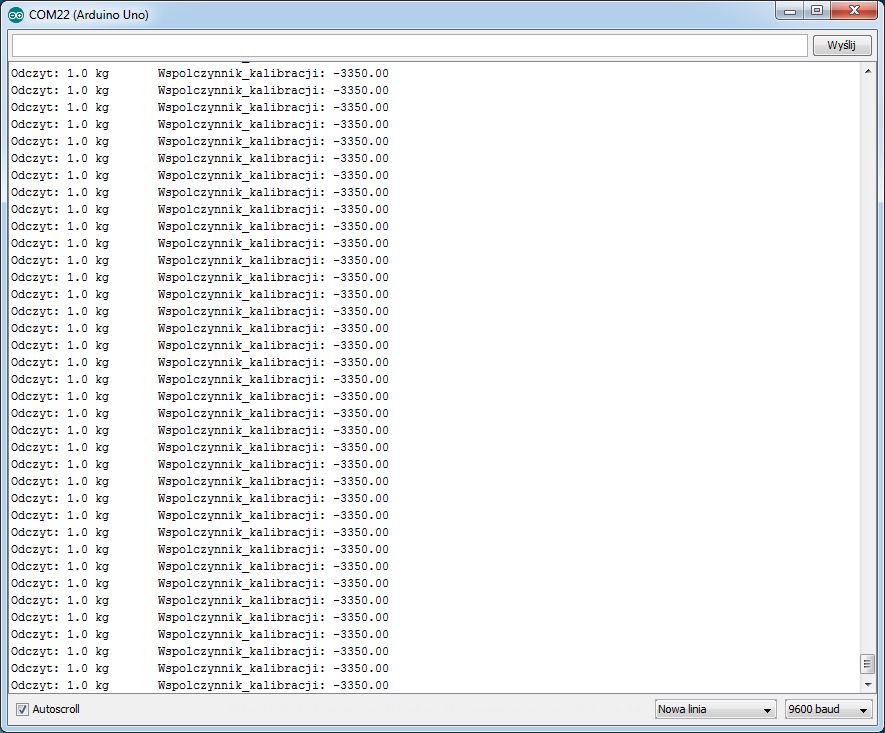
Screenshot from the serial port monitor.
Below the program used (based on that from the library)
#include "HX711.h"

#define DOUT 3 //pin 3 Arduino and sensor DAT output
#define CLK 2 //pin 2 Arduino and sensor CLK output

HX711 scale (DOUT, CLK);

float calibration_factor = -7050; //calibration factor

void setup() {
  Serial.begin(9600);
  Serial.println("HX711 - calibration program");
  Serial.println("Remove load from the beam");
  Serial.println("Once you start reading, place a known mass on the beam");
  Serial.println("Press + or a to increase the calibration factor");
  Serial.println("Push - or z to increase the calibration factor");

  scale.set_scale();
  scale.tare(); //Resets scale to 0

  long zero_factor = scale.read_average(); // Base reading
  Serial.print("Zero factor: "); //May be used to remove the need for scale tapping. Useful for fixed scale projects
  Serial.println(zero_factor);
}

void loop() {

  scale.set_scale(calibration_factor); // Adjustment by calibration factor

  Serial.print("Read: ");
  Serial.print(scale.get_units(), 1);
  Serial.print(" kg"); //D We can freely select kilograms or pounds because there is a linear relationship between them
  Serial.print(" CALIBRATION_Calibration Factor: ");
  Serial.print(calibration_factor);
  Serial.println();

  if(Serial.available())
  {
    char temp = Serial.read(); //download the entered value and change the calibration factor
    if(temp == '+' || temp == 'a')
      calibration_factor += 10;
    else if(temp == '-' || temp == 'z')
      calibration_factor -= 10;
  }
}
Then the read value should be used in SparkFun_HX711_Example (File -> Examples -> HX711 -> SparkFun_HX711_Example). We will use a polonized program:
#include "HX711.h"

#define calibration_factor -3350.0 // Read value from calibration program

#define DOUT 3 //pin 3 Arduino and sensor DAT output
#define CLK 2 //pin 2 Arduino and sensor CLK output

HX711 scale (DOUT, CLK);

void setup() {
  Serial.begin(9600);
  Serial.println("HX711 scale demo");

  scale.set_scale(calibration_factor); // Setting up calibration
  scale.tare(); // Starting indication

  Serial.println("Readings:");
}

void loop() {
  Serial.print("Read: ");
  Serial.print(scale.get_units(), 1); //scale.get_units() returns the float variable
  Serial.print(" kg"); //D We can freely select kilograms or pounds, but the calibration factor changes as well
  Serial.println();
}
Now we can weigh anything we want. The result is shown on the screen below:
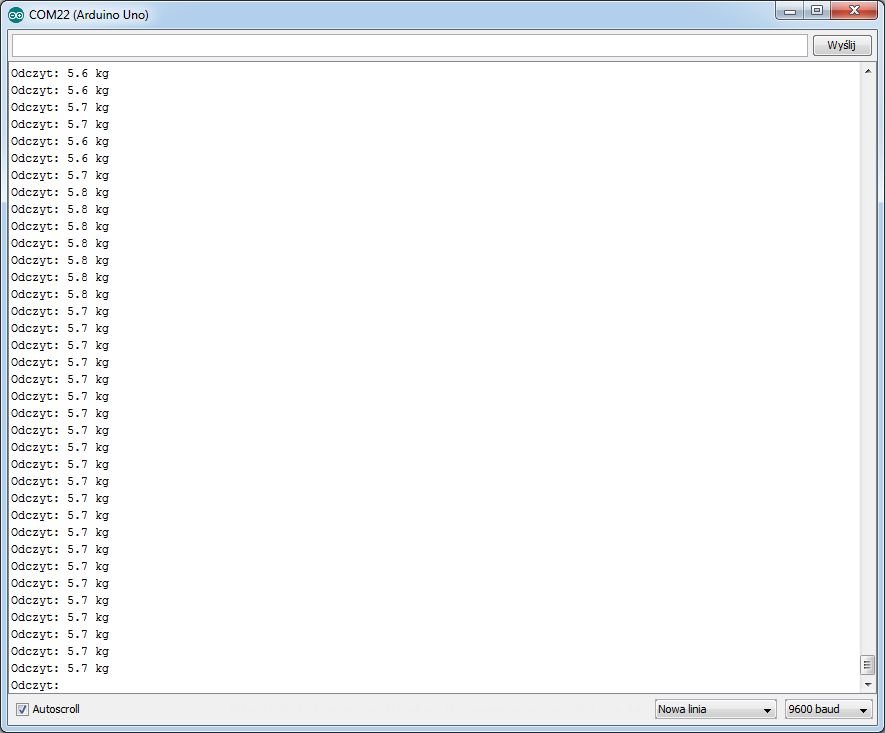
Screenshot from the serial port monitor.